
SIM Card Replacement
Hardwired Device
Tip: Click any image to enlarge.
Disassembly
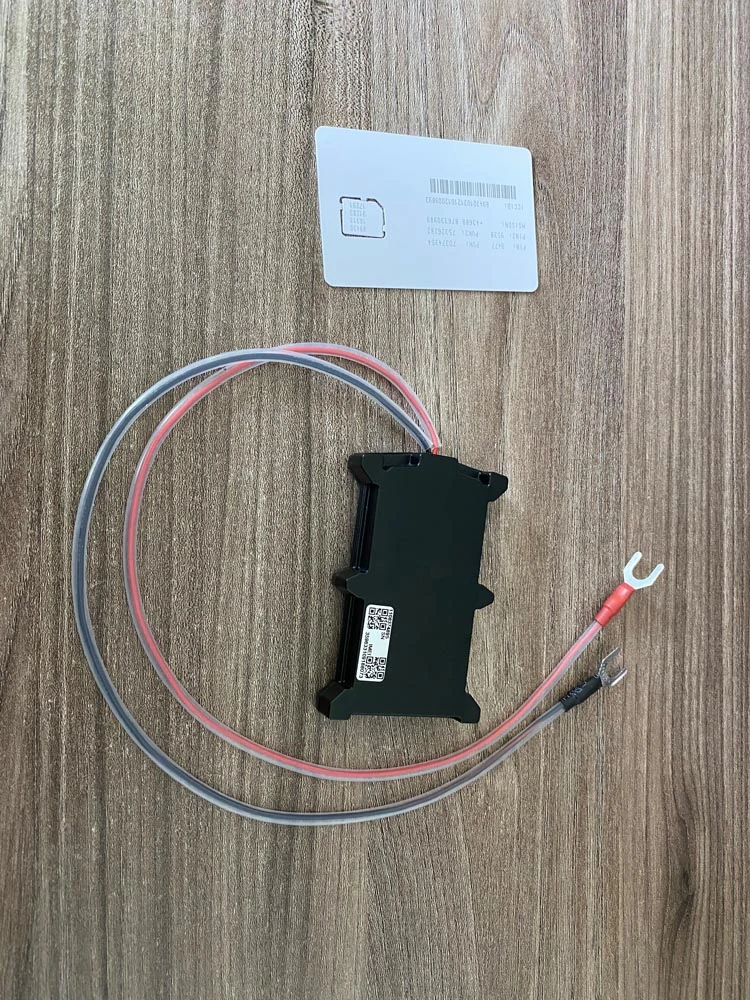
Step 1
Disconnect the device from the car’s battery.
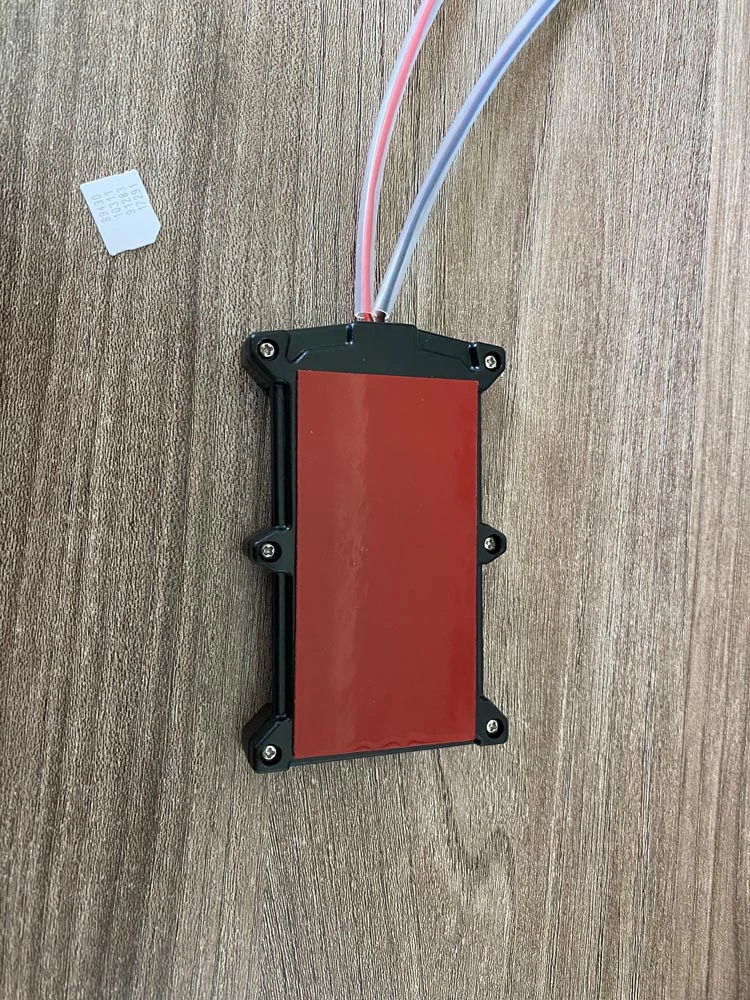
Step 2
Flip the device so the back side (adhesive side) faces up.
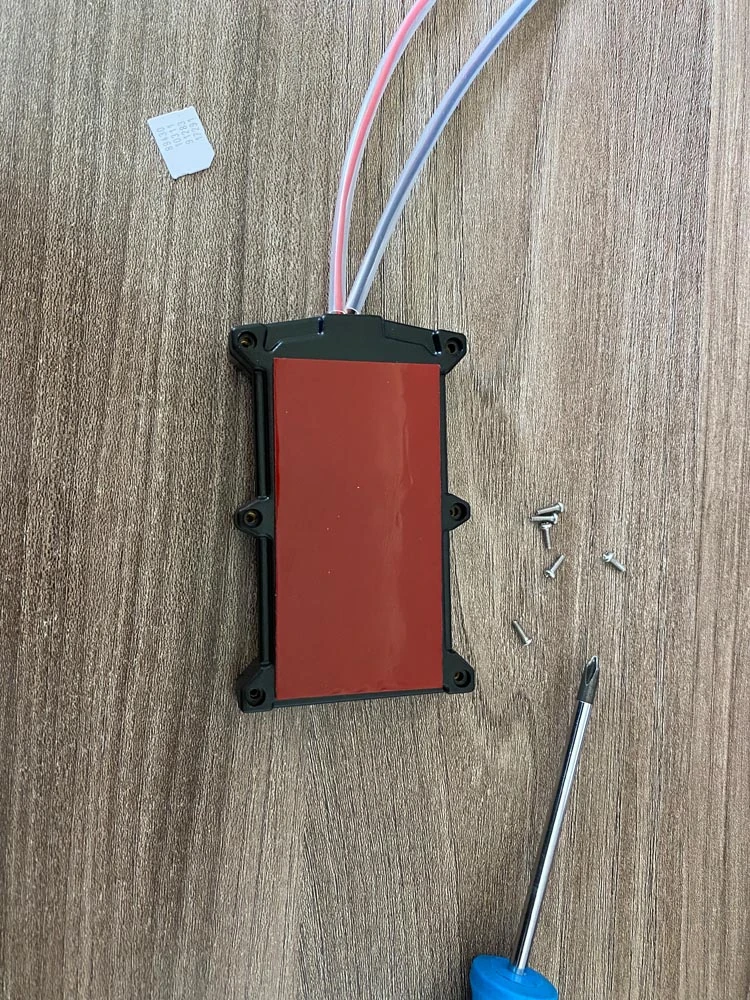
Step 3
Remove all six screws using a Phillips head screw driver.
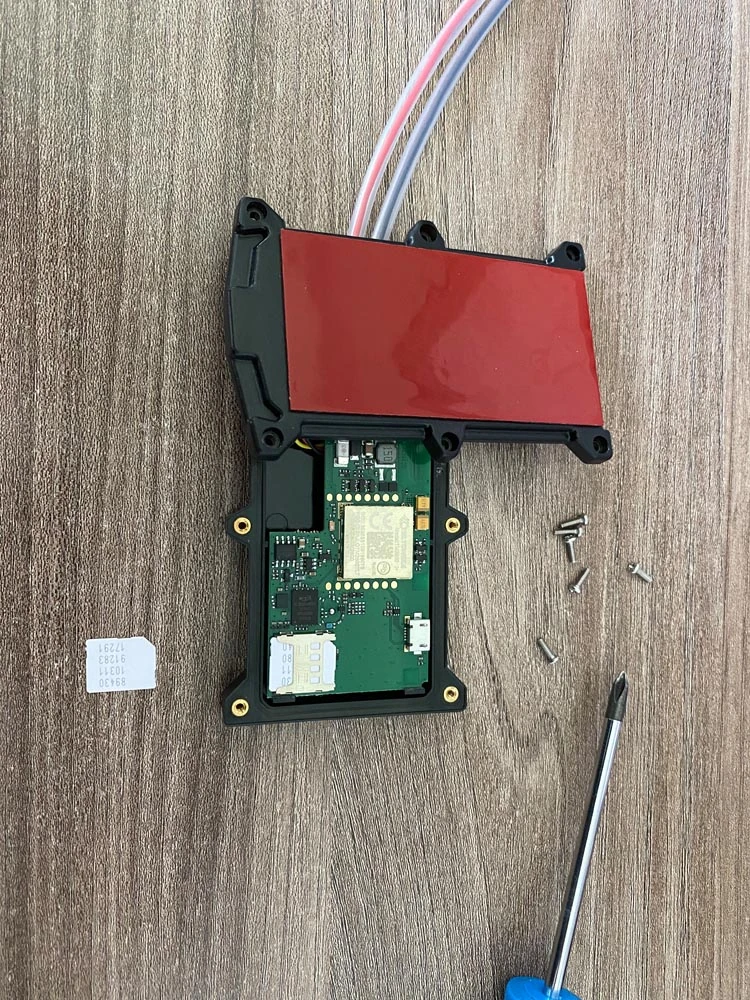
Step 4
WARNING!!! Slowly lift the cover and check if the battery is attached to the cover. In this case don’t lift the cover all the way, just turn it like on the picture below, to expose the SIM card tray in the bottom right corner.
Swapping the SIM Card
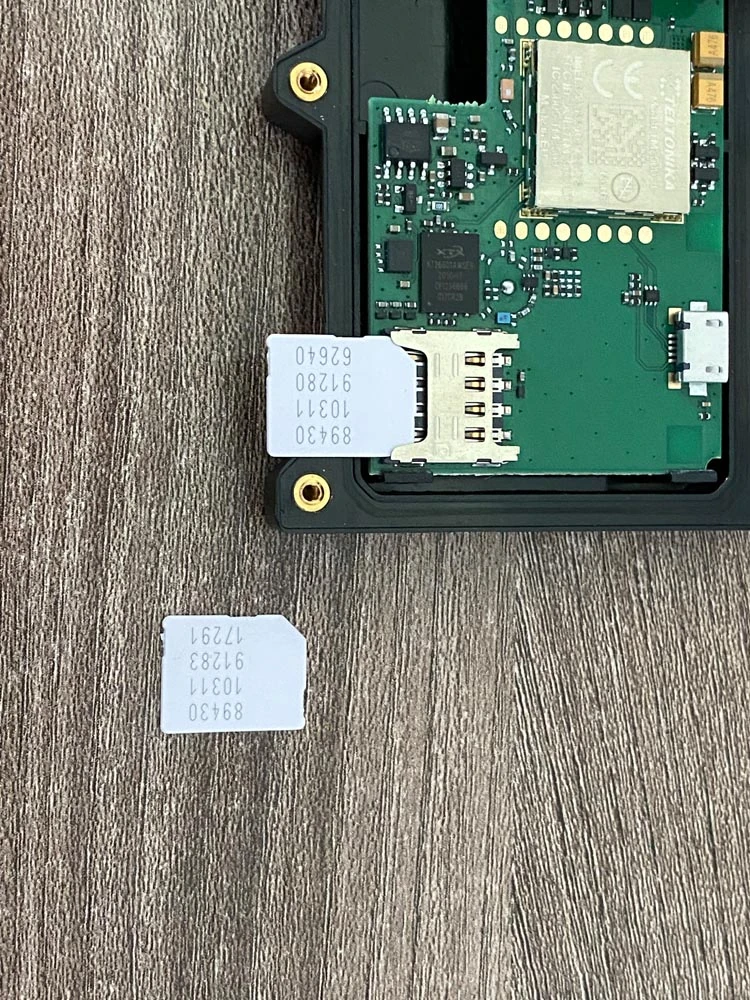
Step 5
Slide the old SIM out of the slot and insert the new one faced the same way. Be careful not to mix the sim cards.
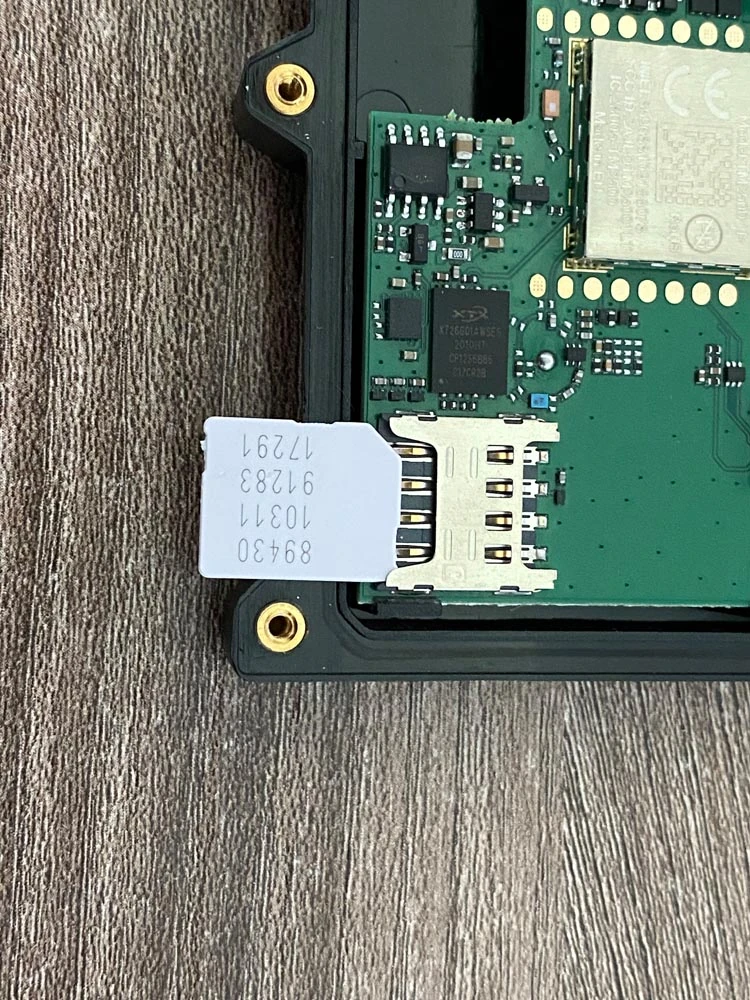
Step 6
Align the new SIM card with the slot so the gold coloured contacts on the SIM card are facing downwards and the beveled edge is on the top left.
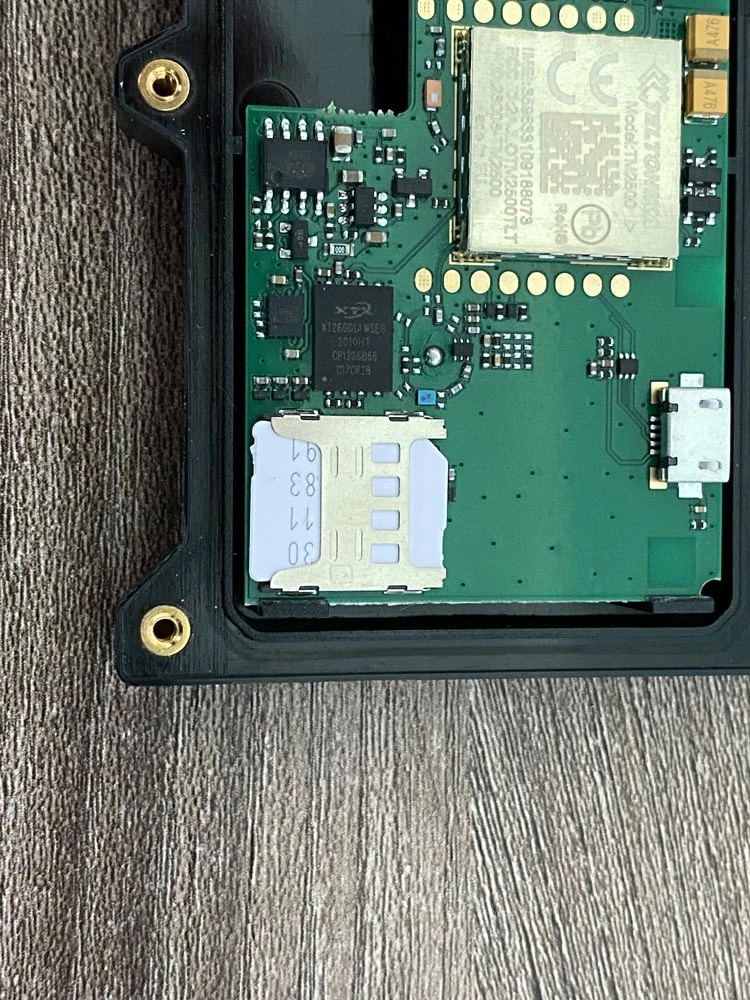
Step 7
Push the SIM card all the way in.
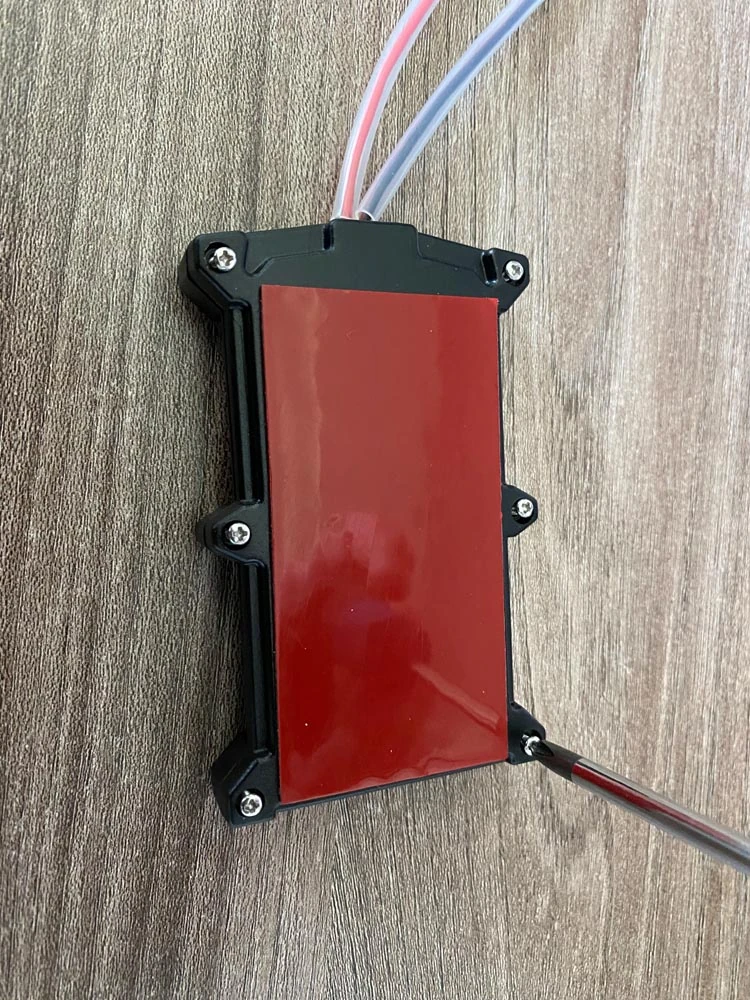
Step 8
Carefully rotate the cover back and gently press down to feel the cover sit on the rubber seal. Gently tighten all six screws to fix the cover back in place.
If you encounter any issues during this process, please contact our support team.
Contact Support