


Driver’s Desk
A Hands-On Guide to the Installation of GPS Vehicle Trackers
A successful GPS tracker installation begins with selecting the right device for your specific needs. The choice between a simple OBD-II plug-in tracker for rapid setup and a discreet hardwired unit for permanent, covert security is fundamental. Each type serves a distinct purpose, and understanding their differences is the first step toward achieving the level of vehicle protection you require.
Choosing the Right GPS Tracker for Your Vehicle
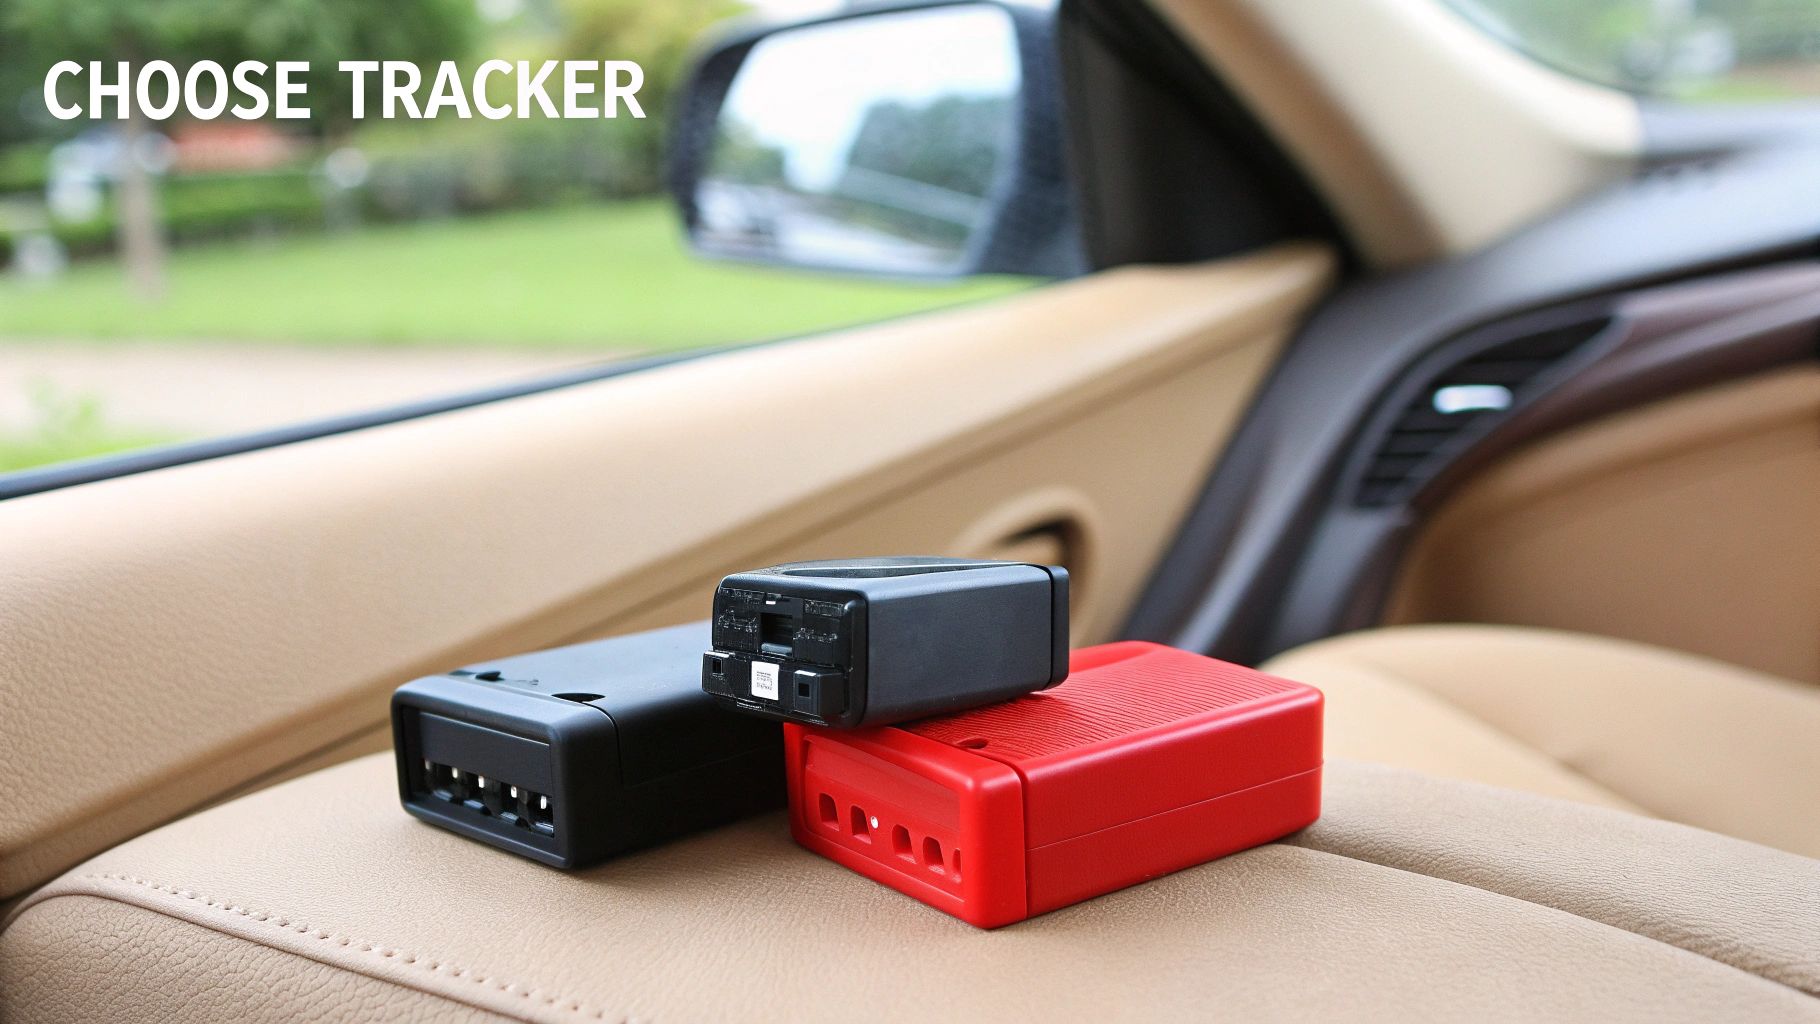
Pictured here is the CarLock 4G device, a prime example of the modern design available in both OBD-II and hardwired formats. However, beyond aesthetics, the critical decision lies in its connection method. This choice will define the installation process, the level of security, and the device's overall functionality.
Plug-and-Play Simplicity: The OBD-II Solution
The OBD-II plug-in tracker represents the pinnacle of user-friendly design. Engineered for a direct DIY approach, the term "installation" is almost an overstatement. A user can have this type of GPS device operational in under 60 seconds. The process involves locating the vehicle's On-Board Diagnostics (OBD-II) port—typically situated beneath the steering column—and inserting the device.
This option is ideal for scenarios where speed and simplicity are paramount. For instance, a parent monitoring a new teen driver can install it without any technical expertise. It's also highly practical for users who frequently switch vehicles or operate a leased car, as it can be removed instantly without leaving any evidence of its presence.
The Permanent, Covert Solution: Hardwired Installation
In contrast, a hardwired tracker is engineered to create a permanent and stealthy security layer. This device integrates directly into the vehicle's electrical system, allowing it to be concealed deep within the dashboard or in another hidden location. Because it is completely out of sight, a potential thief is significantly less likely to discover and tamper with it.
For robust anti-theft security, hardwiring is the superior method. It is the recommended approach for business owners protecting a fleet of commercial vehicles or individuals with high-value cars that are potential targets for sophisticated thieves. The installation results in a permanent, nearly undetectable security asset.
The adoption of GPS technology has grown exponentially. The global market is expanding rapidly, with some industry projections indicating the installed base of IoT devices (including GPS trackers) could exceed 25.4 billion by 2030. A significant portion of this growth is driven by the automotive sector's demand for enhanced tracking and security solutions.
Making an informed choice upfront establishes the foundation for a security system that meets your specific requirements. Whether you opt for the immediate convenience of an OBD-II device or the robust protection of a hardwired unit, understanding these core differences is crucial. To gain deeper insight into device capabilities, you can learn more about the CarLock device features and see how they align with each installation style.
Your Pre-Installation Safety and Tools Checklist
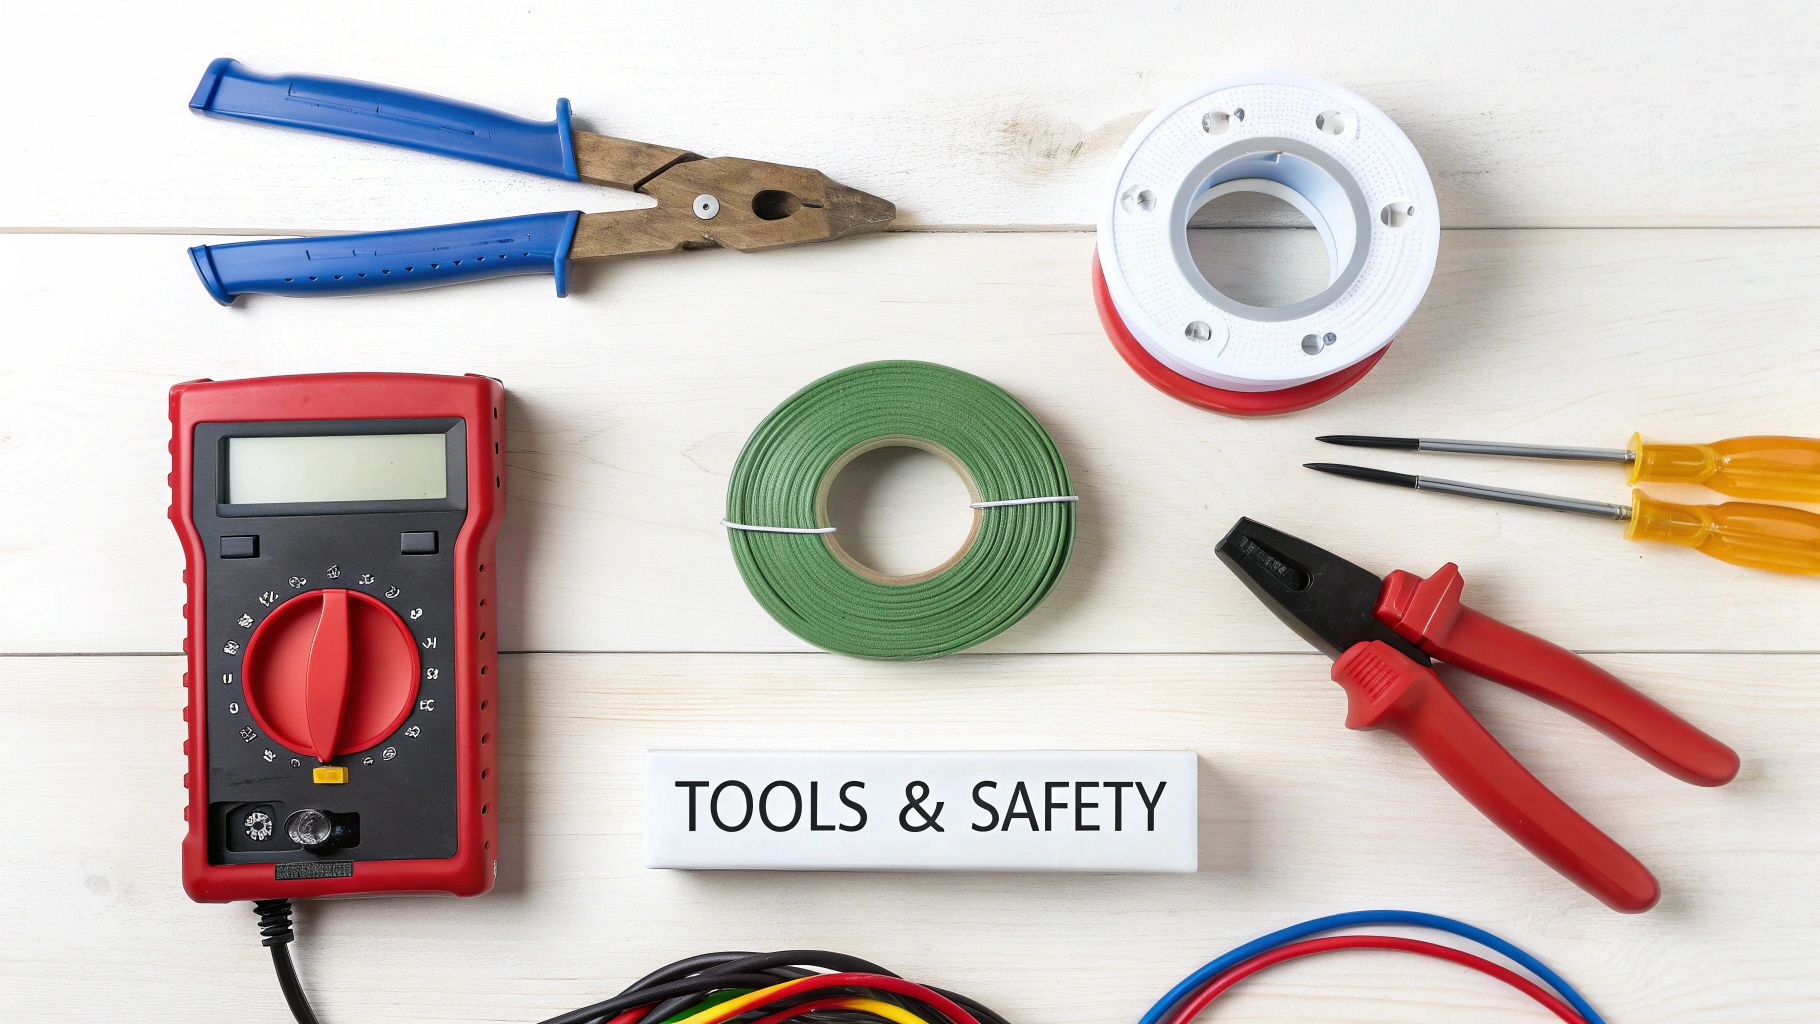
A successful GPS tracker installation is rooted in meticulous preparation. Before beginning any physical work, a few minutes dedicated to assembling the necessary tools and reviewing safety protocols can prevent significant frustration. This preparatory phase ensures the device functions optimally from the moment of activation.
The required tools are dictated entirely by the type of tracker selected. An OBD-II plug-in unit requires no tools, whereas a hardwired device necessitates a basic electrical toolkit to ensure a safe and secure installation.
Tool and Preparation Checklist for GPS Installation
This table provides a clear breakdown of the requirements for each installation type. While the hardwired option requires more preparation, the necessary tools are standard for basic automotive electrical work.
| Requirement | OBD-II Plug-In Installation | Hardwired Installation |
|---|---|---|
| Primary Device | CarLock OBD-II Tracker | CarLock Hardwired Tracker |
| Required Tools | None | Multimeter, wire strippers/cutters, electrical tape or heat-shrink tubing, zip ties |
| Vehicle Prep | Locate OBD-II port | Disconnect the negative battery terminal |
| Complexity | Beginner (Plug and play) | Intermediate (Basic electrical work) |
| Time Estimate | Less than 5 minutes | 30-60 minutes |
This data provides a clear expectation of the effort involved. The OBD-II installation is designed for maximum simplicity, while the hardwired route is a manageable task with the correct equipment.
Assembling Your Installation Toolkit
For an OBD-II plug-in tracker, your preparation is minimal. The only items required are the device itself and a smartphone for pairing with the CarLock app. It is a completely tool-free process designed for efficiency.
A hardwired installation, however, requires a small collection of tools to perform the job safely and create reliable, long-lasting connections.
- Multimeter or Circuit Tester: This is the most critical tool. It is essential for correctly identifying the constant power, ignition-switched power, and ground wires. Guesswork can lead to malfunction or damage to the vehicle's electrical system.
- Wire Strippers and Cutters: These are required to cleanly remove insulation from the vehicle's wires before creating a connection. A clean strip is vital for a secure electrical bond.
- Electrical Tape or Heat-Shrink Tubing: Proper insulation of all new connections is mandatory to prevent short circuits, which can pose a fire risk or damage sensitive vehicle electronics.
- Zip Ties: These are essential for professional cable management. Use them to secure the tracker's wiring neatly, keeping it away from moving parts such as pedals or the steering column.
Prioritizing Electrical Safety
Working with a vehicle's electrical system demands caution. The single most important safety rule for any hardwired installation of gps is to disconnect the negative terminal of the car's battery before commencing work.
This simple step eliminates the risk of electrical shock and prevents accidental short circuits, which could damage the vehicle's Engine Control Unit (ECU) or other sensitive electronic components. This should be the first action taken.
With the battery safely disconnected, you can proceed. Always use a multimeter to double-check your connections before insulating them with tape or heat-shrink tubing. This methodical approach will prevent troubleshooting power issues later.
This diligent preparation not only ensures a smoother installation but also guarantees the tracker is installed for optimal performance and long-term reliability, reinforcing the comprehensive vehicle security from CarLock from its first day of operation.
Getting Started with an OBD-II Plug-In GPS Tracker
For the fastest and most straightforward path to vehicle security, the OBD-II plug-in tracker is the optimal solution. This method is engineered for pure simplicity, allowing for a complete installation in minutes without any tools. It is a true plug-and-play device that leverages a standard port already present in your vehicle.
The concept is exceptionally simple: locate your vehicle's On-Board Diagnostics (OBD-II) port and insert the CarLock device. This is the same port used by technicians for vehicle diagnostics, and it provides both a constant power source and a data interface for the tracker. In the vast majority of cars, trucks, and vans manufactured after 1996, this port is located under the dashboard on the driver's side, typically near the steering column.
Upon plugging in the CarLock tracker, small LED indicator lights will begin to flash. This indicates the device is powering on and establishing connections. One light typically confirms it is receiving power, while another signals that it is acquiring a GPS satellite lock. It is normal for this process to take a few minutes, especially during the initial power-up, as the tracker needs to initialize and triangulate its position.
Optimizing Your Placement for a Better Signal
While the initial connection is simple, strategic placement can significantly enhance performance and discretion. The two primary goals are achieving a strong, stable GPS signal and keeping the tracker concealed from view.
For optimal signal reception, ensure the tracker is not obstructed by heavy metal components of the vehicle's frame. The plastic dashboard will not impede the signal, but improper positioning behind structural metal can. In some vehicles, the OBD-II port's location may leave the tracker exposed or vulnerable to being accidentally kicked. In such cases, specific accessories are invaluable.
- Low-Profile OBD-II Extension Cable: This accessory is highly recommended for a stealthier installation. It allows you to connect the cable to the port and then securely mount the tracker deeper under the dash with a zip tie, hiding it from plain sight.
- OBD-II Splitter: If the OBD-II port is needed for other devices, such as a fleet management tool or a diagnostic scanner, a splitter provides a simple solution, allowing two devices to be connected simultaneously.
A common oversight is to simply plug in the device without considering its final position. We recommend taking an extra two minutes to evaluate placement. Using a low-profile extension cable to conceal the tracker not only protects it from being discovered and unplugged but can also provide a clearer line of sight to the sky, resulting in faster and more accurate location data.
This attention to detail ensures your tracker operates at peak efficiency. The demand for such reliable tracking has fueled significant market growth. The global GPS tracking device market was valued at USD 2.8 billion in 2022 and is projected to grow to USD 6.5 billion by 2032, expanding at a CAGR of 8.8%. In North America, the commercial fleet adoption rate of telematics has already surpassed 70%, demonstrating the technology's efficacy. You can explore more data and trends in this detailed GPS trackers market report.
With your device securely in place, the final step is activation via the mobile application.
A Practical Guide to Hardwiring Your GPS Tracker
For a permanent, fully covert security solution, hardwiring a GPS tracker is the superior method. This approach integrates the device directly into your vehicle’s electrical system, establishing it as a "set-it-and-forget-it" anti-theft asset. While the installation is more involved than an OBD-II plug-in, the result is a level of stealth that is exceptionally difficult for a thief to detect and defeat.
The process centers on connecting three specific wires: one for constant power, one for ignition-switched power, and a third for a ground connection. Correctly identifying and connecting these wires provides the tracker with a reliable power source and enables it to report accurately when the engine is running.
For anyone undertaking this installation, a solid understanding your vehicle's electrical system is not just beneficial—it is essential for a safe and effective outcome. This knowledge helps avoid common errors that could damage the car’s sensitive electronic components.
Identifying the Essential Wires
The first critical task is locating the correct wires within your vehicle. This is the most crucial part of the installation and absolutely requires the use of a multimeter. Never rely on wire colors alone, as they can vary significantly between vehicle makes and models.
- Constant Power (12V+): This wire maintains power even when the vehicle is off, ensuring the tracker remains active 24/7. Use a multimeter to find a wire that shows a steady reading of approximately 12 volts with the ignition off.
- Ignition-Switched Power (ACC): This wire is only energized when the key is turned to the "Accessory" or "On" position. It serves as the signal to the tracker that the engine has been started. It should read 12 volts with the ignition on and 0 volts when off.
- Ground Wire (GND): This wire completes the electrical circuit. The most reliable method is to connect it directly to the vehicle's metal chassis. Locate an unpainted factory bolt that is secured directly to the metal frame for a solid, reliable ground connection.
Creating a Secure and Lasting Connection
Once the target wires have been positively identified with a multimeter, the next step is to connect to them securely. The quality of these connections determines the long-term reliability of the tracker. Two common and effective methods are using T-tap connectors or soldering.
T-tap connectors are popular for DIY installations as they are quick and do not require specialized tools. You simply clamp the tap over the host wire and then plug the tracker's corresponding wire into the tap. For a professional-grade, permanent connection, however, soldering the wires together and sealing them with heat-shrink tubing is the best practice. This creates a robust bond that is highly resistant to vibration and corrosion.
Regardless of the connection method chosen, always disconnect the negative terminal of the car's battery before cutting or tapping into any wires. This critical safety precaution prevents short circuits that could damage the vehicle's onboard computer (ECU) or other expensive electronics.
After making the connections, cable management is the final step. Use zip ties to bundle and secure all wiring, ensuring it is tucked away from any moving parts like pedals, the steering column, or HVAC components. A tidy installation is not only safer but is also significantly more difficult for a would-be thief to discover. This meticulous approach is vital for a covert setup.
The simple diagram below shows the key steps for the much easier OBD-II installation, highlighting the basic locate, plug in, and confirm process.
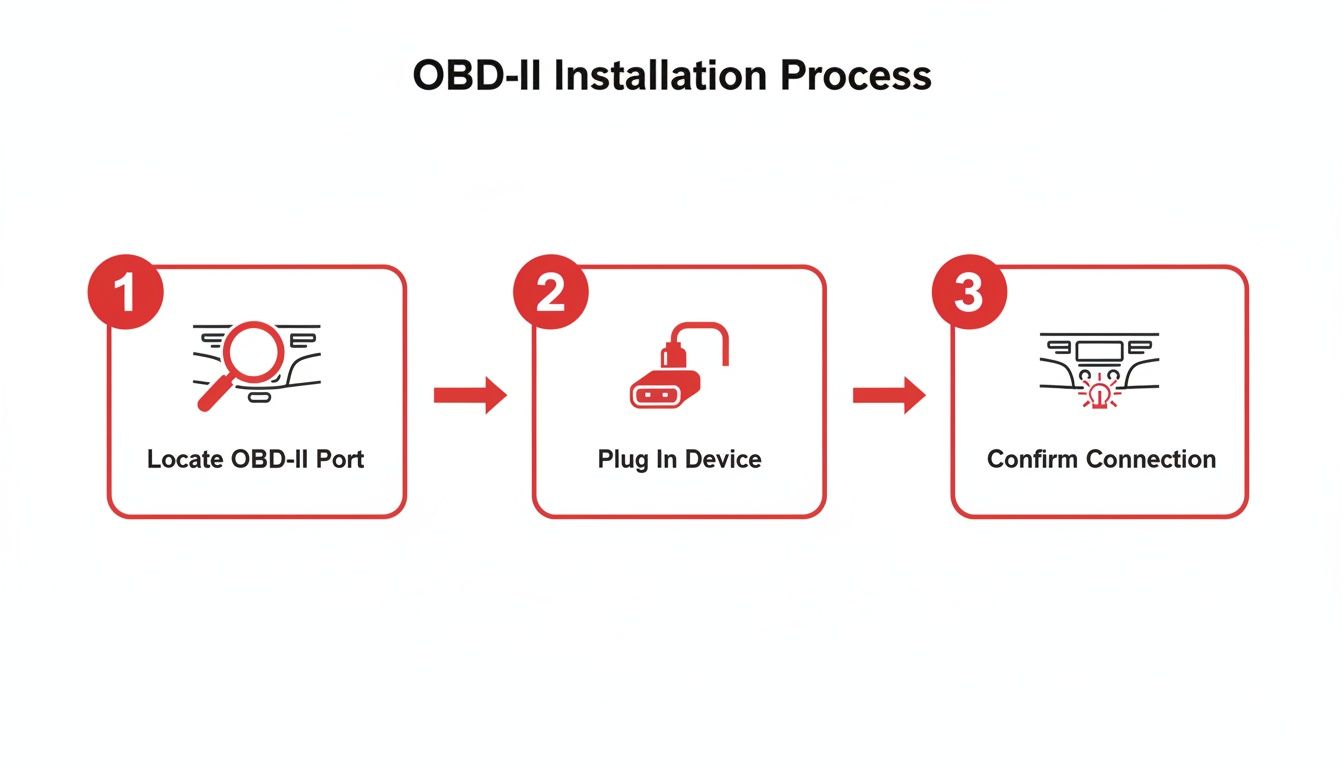
While hardwiring is more complex, the core principle of confirming a solid connection is equally critical to ensuring the device functions perfectly from the outset.
Activating and Testing Your GPS Tracker
With the physical installation complete, the next phase is to activate the tracker. This step bridges the hardware in your vehicle with the software on your smartphone, creating a digital security shield that monitors your vehicle 24/7.
The process is designed to be intuitive: pairing the device, customizing alert preferences to suit your security needs, and conducting a final test to confirm that all systems are communicating correctly.
Syncing the Device to the CarLock App
The first step is to launch the CarLock mobile application. A setup wizard will automatically guide you through activating your subscription and linking the physical tracker to your user account.
This digital pairing is the critical link that enables the device to transmit location data and push security alerts directly to your phone. A successful connection is the foundation of the entire security system.
Customizing Your Security Settings
Once the device is active, you can customize its features to align with your specific security concerns. This transforms the tracker from a passive location device into a proactive security system. Investing a few minutes in this step can dramatically enhance its effectiveness.
Key notifications to configure immediately include:
- Vibration Detected: Receive an instant push notification if the device senses vibrations consistent with a window being broken, a tow truck connection, or the use of power tools.
- Engine Started: Be alerted the moment your vehicle's engine is started without your authorization.
- Device Disconnected: For both plug-in and hardwired units, this alert serves as a primary warning if a thief attempts to tamper with the tracker by cutting its power source.
Pro Tip: Configure a "Safe Zone" by drawing a virtual geofence on the map around your home or workplace. The application will then automatically notify you whenever your vehicle enters or leaves this designated area, providing effortless peace of mind.
These customized alerts are the features you will interact with daily. To explore the full range of capabilities, review the complete list of CarLock app features to tailor the perfect security profile for your routine.
Performing a Final Systems Check
With your alerts configured, a short test drive is the final and most important validation step. This confirms that every component of your new security system is online and functioning correctly. A brief trip around the neighborhood is sufficient.
During your test drive, monitor the app to verify three key functions:
- Real-Time Tracking: Ensure your vehicle's icon moves smoothly and accurately across the map in real-time.
- Trip Logging: After the trip, open the logbook to confirm the journey was recorded with correct start and end points, duration, and distance.
- Alert Functionality: Once parked, gently rock the vehicle to simulate a disturbance. This should trigger a test vibration alert to your phone within moments.
If location updates are accurate, the trip is logged correctly, and the test alert is received, your installation is a success. You now have a fully active, tested, and reliable security system protecting your vehicle.
Common GPS Installation Questions Answered
Even with detailed instructions, specific questions often arise during installation. This section addresses the most common inquiries with the direct, factual answers you would expect from a professional installer.
This is a final review of practical, real-world concerns that are not always covered in a standard step-by-step guide.
Will Installing a GPS Tracker Void My Car Warranty?
This is a frequent and important concern, and the answer depends directly on the type of tracker installed.
For an OBD-II plug-in device, the answer is definitively no. This type of device is non-invasive; it simply reads data from a port designed for diagnostic access. It can be unplugged at any time without leaving any trace of its installation, meaning it does not alter the vehicle in any way that could affect the manufacturer's warranty.
For hardwired installations, the situation is more nuanced. A professionally executed installation that does not damage existing wiring should not void your warranty. However, manufacturer policies can differ.
In the United States, the Magnuson-Moss Warranty Act offers consumer protection. It stipulates that a manufacturer must prove that an aftermarket part caused a specific failure before they can deny warranty coverage for that failure. Nevertheless, for complete assurance, it is advisable to review your vehicle’s warranty agreement or contact your dealership if you have concerns.
What Is the Best Hidden Spot for a Hardwired Tracker?
For a hardwired unit, stealth is paramount. The goal is to find a location that is difficult for a thief to access while still providing a clear line of sight to the sky for a strong GPS signal. Metal is the primary inhibitor of GPS signals, so avoid placing the tracker inside any fully enclosed metal structures.
Based on extensive installation experience, these are prime locations:
- High up under the dashboard: A classic location that offers ample space behind plastic and fabric panels, which do not block the signal.
- Inside the center console: There is often significant empty space within the console's structure, providing an excellent hiding spot.
- Behind the glove box compartment: Removing the glove box often reveals easy access to wiring and numerous concealed cavities suitable for placement.
Before permanently securing the tracker with zip ties, always test the signal strength in the chosen location by checking the device's status in the CarLock app.
Can I Install the GPS Tracker Myself?
The feasibility of a DIY installation depends on the tracker type and your comfort level with basic automotive electronics.
The CarLock OBD-II tracker is specifically designed for DIY installation. The process takes less than a minute and requires no tools or technical skills.
A hardwired installation requires a fundamental understanding of your vehicle’s electrical system. If you are proficient with a multimeter and can create secure electrical connections, our guide provides all the necessary steps. However, if you have any hesitation, we strongly recommend engaging a professional auto electrician. The modest cost is a worthwhile investment for the peace of mind that comes with a safe and correct installation.
We have compiled more detailed responses to common user inquiries in our comprehensive GPS car tracker questions and answers section.